Compression 101: The RIGHT Way to Set a Compressor for Audio

There is a wealth of information available about audio and plugin compressors and how they are used to make music loud and punchy. But not many discuss HOW compressors work or what to listen for when dialing in a compressor. Without this knowledge, you can very quickly suck the life out of your music, leaving it flat, dull, and one-dimensional. Here, I break down the technical terminology to help you set a compressor to do what you want. Once you understand these basics, your audio productions will become larger than life.
What is a Compressor?
A compressor is a tool that changes the dynamic range of audio. Dynamic range is a fancy word for the differences between the loudest and softest parts of an audio signal. People often use compressors to reduce the dynamic range of audio to make the performance more consistent. For example, a compressor can be used to make the loudest vocal passages the same volume as the quietest ones. Depending on how the compressor is set, you can actually increase the dynamic range of audio which we will talk about a little later.

Dynamic Range is the difference between the loudest and softest parts of an audio signal.
How does a compressor work?
Essentially, a compressor can be thought of as a person whose only job is to turn the volume down when they see any incoming audio signal go above a certain set level or threshold. Then, when the audio signal drops below that set threshold, they return the volume back. This is the basic operation of a compressor.
The ratio of the compressor
The amount that the volume gets decreased once the audio goes above the threshold is determined by the ratio. Ratios for compressors usually range from 2:1 to about 10:1. The first number of the ratio is the level going into the compressor and the second number is the output level of the compressor. What this means is for a 2:1 ratio, if we have a signal that is 2 decibels (dB) over the threshold, the compressor will reduce the output volume to 1 dB. You can also think of it as 2 dB in: 1 dB out. The higher the first number, the more the audio signal will be reduced (or compressed) above the threshold. So a 4:1 ratio means that an audio signal that is 4 dB above the threshold will be reduced so the final level is 1 dB (reducing the level by 3 dB). A ratio of 1:1 means no compression of the audio is happening because an audio signal 1 dB over the threshold will have an output of 1 dB.
What about the attack and release controls?
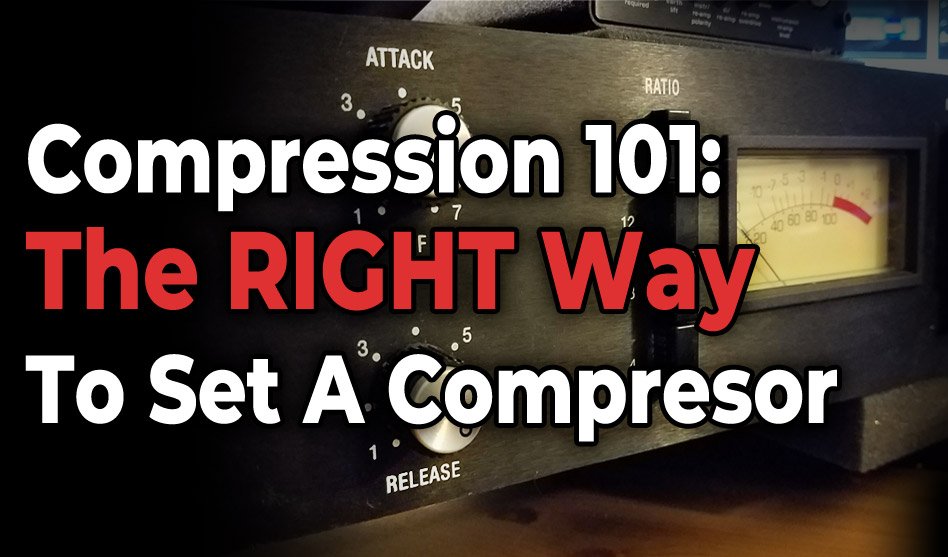
Now that we understand threshold and ratio, the next very important step is to understand what the attack and release controls do. The attack is the time it takes for the compressor to react to the audio signal that goes above the set threshold. Basically, this allows the very first part of the audio signal to sneak by the compressor without being turned down. Compressors set to fast attack times (0.1 ms – 20 ms) react very quickly and will reduce the initial punch of an audio signal (which is also called a transient). Fast attack times help to control the total average volume of the audio by rapidly lowering the volume of the signal once it passes the threshold (reducing dynamic range). Fast attack times also ensures that any big spikes in the audio get reduced. A slow attack time (20 – 250 ms) allows this initial punch to pass by the compressor unaffected and is a great choice when you want to enhance the initial impact of the audio signal, Slower attack times like this can be great for bass and drums to add power and punch.
The release setting is the time it takes to return the volume back to the original level once the signal drops back below the threshold. A fast release returns the volume back to the original level quickly, which makes the compression very transparent and makes things feel closer to the listener. Slower release settings (200 – 1000 ms) can cause a pumping effect that can be desired in dance music. These slower release settings on the main stereo output bus help glue instruments together.
How to dial in the compressor to enhance your music
Try starting with the compressor set to the fastest attack, fastest release, and highest ratio setting for the compressor. Then adjust the input volume or threshold setting until about 16-24 dB of the audio signal is reduced on average (also known as gain reduction). Under this extreme setting, it’s very easy to hear how the compressor is affecting the audio signal. Now, increase the release knob and listen to how the audio begins to start pumping with the long release times. Adjust the release time so the audio pumps with the music, which helps to reinforce the groove of the song. Next, adjust the attack to keep or reduce the initial punch of energy known as the tranient. Longer attack times can add some serious punch to your music, whereas shorter attack will better control the volume but will reduce the dynamic range. Lastly, dial back the threshold back until the compression becomes more subtle and gels into the mix.
Resources and cheat sheets available online can provide good starting points for setting compressors depending on the instrument. I strongly believe you should experiment and see what attack, release, and ratio settings works best for your music! The above technique will enable you to hear exactly what the compressor is doing to your music and help you make better decisions when setting a compressor. If you can’t hear a difference when the compressor is on or off, then it probably isn’t needed on that instrument or vocal in the first place! Mastering this technique will allow you to make a vocal sound more aggressive or smooth and lush.
Closing thoughts
I hope these analogies helped you understand what the different compressor parameters are and how they work. Experiment with your music productions and try different ratios, attack and release times to hear how the compressor affects the audio signal. The difference between a great, punchy and dynamic mix and a lifeless and boring mix lies in understanding these concepts.
Can you hear what a compressor does to your tracks? Do you have any go to compressor settings? Leave a comment below!


![[Recording Hack] How to Record Vocals Without Headphones](/blog/s/img/wp-content/uploads/2018/09/Record-without-Headphones-440x264.jpg)


Trackbacks/Pingbacks