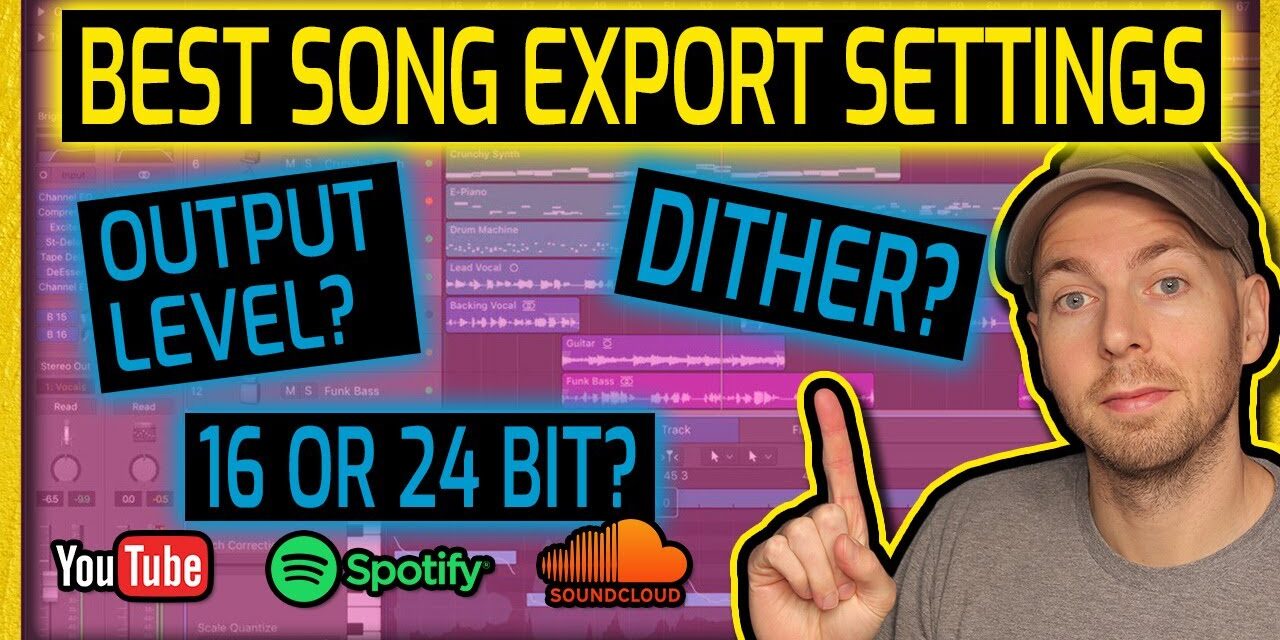
Best Song Export Settings EXPLAINED (2021) | Volume, Dither, Bit Depth

There are so many opinions about what the best song export settings are, but no one has ever explained WHY there are so many different settings and WHAT the strategy is for releasing our songs to make them sound as good as they can. In this article (and video below) I dive deep into what happens when you submit your songs for distribution and how that plays a role in what the best settings are for our music.
Best Song Export Settings – Goal and Strategy
When we submit our songs to a distributor to go onto Spotify, Apple Music, etc., there are a few things we need to know. The distributors need to convert our files for the various streaming platforms. So, we want to maximize our quality while minimizing the number of times we convert between sample rate, bit depth, and file formats.
So a good strategy for getting the best sound is to use the most commonly accepted file formats, because this will minimize the number of times that a distributor might convert our song.
It’s also nice to be in control of the conversion process, so we know what the exported song will sound like when it ends up on the platforms. We do NOT want to just blindly trust that the distributor will “do it right”.
With that in mind, the gold standard for audio is STILL 44.1 kHz at 16 BIT WAV files.
Do NOT submit MP3s or any other lossy file formats for distribution. The only time that should ever happen is if there is NO OTHER OPTION.
24 BIT and High Resolution Formats
I know some aggregators and distributors will accept 24 BIT or 96 kHz sample rates, but UNLESS YOU ARE SPECIFICALLY uploading to a specialty high resolution audio provider, STICK WITH THE GOLD STANDARD 44.1 kHz and 16 BIT to prevent any weird conversion problems. Remember, it’s better to be in control of these things.
Best Export Settings For Preparing CDs
If you are preparing your music for a CD, 44.1 kHz and 16 BIT are also the standard format for CDs as well! This makes it really easy to remember.
Sometimes you might record at a higher sample rate than 44.1 kHz. When we export our file, your DAW (like Cubase, FL Studio, Logic, Reaper, etc), will handle the sample rate conversion if you tell it to down sample to 44.1 kHz.
Most of the time this is fine. If you question how good your sample rate converter is, you can download a free converter that I’ve tested and love how it sounds. It’s in that that I mentioned earlier (so don’t forget to download that). It’s called R8Brain and it is super clean and easy to use.
Now there are a few more minor things that we need to do to get these songs perfect.
Best Export Settings for Final Limiter
Lets look at the final limiter I’m using on this track. It is on the very last slot of the master fader. Make sure your limiter is there as well – we want to make absolutely sure we don’t export the audio so it goes over 0 dBFS.
At the same time, you should also NEVER export at 0 dB. It’s good practice to give converters a little bit of breathing room just in case someone decides to play your amazing music on a really really crappy system. So if this song is going on a CD, you will want to set the final volume to about -0.2 or -0.3 dBFS.
BUT when it comes to streaming and digital formats, things can get more complicated.
What happens behind the scenes when you send your songs off for distribution, is that they will convert it to a lower quality streamable format that won’t use as much data when streaming.
This will degrade some of the quality in the audio which can potentially cause distortion when played back on speakers or headphones. So without getting too technical here, we want to give our files a little bit more headroom than CDs. In this case, -1 dbFS tends to be pretty safe and that is recommended by many distributors.
If volume is absolutely the most important thing you want, you can export at -0.2 dBFS for streaming, but be aware that it might sound slightly distorted on some systems when streamed back.
Dither and Should You Use It?
The standard practice is to enable dither if you are going from a higher bit depth to a lower bit depth. For example, so you would dither when converting from 24 bit to 16 BIT.
BUT digital audio workstations are complicated, and it’s likely that your audio was actually converted to 32 bit without you knowing…
So what I recommend is to just always dither to 16 BIT audio on your final limiter if the final format is 16 BIT. If your DAW has a dither option on export, then you should just do it there. If you don’t have dither on your limiter then just add a dithering plugin to the very last spot on your master fader. This is important so make sure it’s last.
What is Dither?
Dither basically removes some distortion from our songs by adding a very low amount of noise to your song. Trust me, the noise it adds is really low and it sounds better than that distortion that happens without dither.
You should only really dither one time, so if you have dither enabled on other tracks or plugins, disable those.
Now this isn’t anything to get hung up on. But to be honest, it’s pretty unlikely at anyone would even know if you decided to dither or not.
So to quickly recap: for streaming export at 16 bit, 44.1khz wav file. It’s also best practice to leave about 1 dBFS of headroom for conversion to lossy streamable formats. It’s also recommended to dither as well.
For CDs, export at 44.1 kHz 16 BIT (with dither) and a final level of -0.2 dbFS should be more than enough.
So there you have it!
Let me know in the comments what settings you use and why? Do you dither or not?
Also, don’t forget to pick up that my .
If you want to support me and this channel, smash that thumbs up button and share this video or one of my other videos with your friends on Facebook, reddit or other social platform. There is a lot of great advice in these videos so I know others will find it very helpful.
TIMESTAMPS
00:00 Intro
01:07 What is the Goal When Exporting Our Music?
02:10 What if the distributor accepts “High Resolution” audio formats?
02:53 Best Way To Convert Sample Rates (and FREE Recommended Converter)
03:27 Limiter Placement and Output Level Settings
04:14 What happens when you submit songs for distribution?
05:22 What Dither Settings Should I Use?
06:17 What Does Dither Do?
Like this video?
👇👇👇
❔Need help getting your songs sounding PRO❔
Let’s talk about it, and put together a customized plan for you and your music! Find out more here: bit.ly/2y1T78h
💥Private Facebook Community💥
👋Connect With Me: bit.ly/hsftgroup
💥GEAR💥
📹Canon 77d: amzn.to/2BmN6sq
📷Sigma 18-35 mm Lens: amzn.to/2CY53hY
🎙Shure Beta 57 Microphone (Video): amzn.to/3prXseo
🗜Boom Stand for Mic: amzn.to/2YYjn0O
💡Ring Light: amzn.to/2Yj6qzB
💥SOCIAL💥
📹 Twitch (Watch LIVE!): twitch.tv/raytow…
🔗 Facebook: facebook.com/ray…
📷 Instagram: instagram.com/ra…
💥CONNECT💥
📧 E-mail: bobby@raytownpro…
💙 Website: www.raytownprodu…
⭐ Blog: www.raytownprodu…
Please help support this channel! Some of the links are affiliate links which doesn’t cost you anything extra. At the same time, I also receive a small tip from each sale (basically like buying me a cup of coffee ☕ for helping you out with these high-quality videos).
It’s a win win, and I very much appreciate it 😀


![How To Prepare Your Songs For Mixing [The Ultimate Guide]](/blog/s/img/wp-content/uploads/2018/03/How-To-Prepare-Your-Songs-For-Online-Mixing-Uncompressed-440x264.jpg)


![3 EQ Tricks for Smoother Distorted Guitars [Metal & Rock]](/blog/s/img/wp-content/uploads/2021/09/Desharsh-Guitars-in-metal-440x264.jpg)


brilliant mate, best article ive read on it all, all the answers in one place, i wish i read this 4 years ago! shared it too